Moving Donation Widgets from Streamlabs to StreamElements
What to consider before migrating
Streamlabs and StreamElements use different control panels and store settings differently. That's why a full one-click transfer of donation widgets usually isn't possible. The safe approach is to save your parameters manually, build a new setup in StreamElements, test it separately, and only then swap the sources in OBS.
Your old widgets won't disappear right away. If you leave the Streamlabs browser sources in OBS, they'll keep working until you delete, disable, or replace them. This lets you prepare the new system without risking going live without alerts.
Before you start, figure out which features your channel actually uses:
- the donation page and the link for viewers;
- alerts for donations, subscriptions, follows, and other events;
- fundraising goals, recent events list, chat, and additional elements;
- notification texts, images, GIF animations, sounds, and CSS;
- links in your profile, chatbot commands, stream description, and social media.
Don't connect both systems to the same events unless you have to. If some notifications come through Streamlabs and others through StreamElements, a single event can show up twice. Decide in advance which service will be your main one for new donations and alerts.
Save your Streamlabs settings
Open each Streamlabs widget you use and record its parameters. Take screenshots of every tab, and copy the text values into a separate document as well. Save not just the appearance but also the display conditions: they're often kept separate from the font, colors, and animation.
For alerts, write down the event type, message text, duration, on-screen position, element sizes, and the entrance and exit animation settings. Separately save the font, text size and color, background color, padding, alignment, and the order in which the sender's name and message appear.
If different events have different designs, save the settings for each variant. Check the minimum donation amount, delay, filters, anonymous message display, text length limits, and the conditions under which an alert doesn't show. Parameter names in the new editor may differ, so what matters is the values themselves and what each setting does.
Download the files used in your design: images, GIFs, audio, and CSS snippets. If a file was uploaded only to Streamlabs, it won't appear in the new widget automatically. Sort your materials into folders and label what each file is for, so you don't mix up a donation sound with music for a subscription or follow.
Save your current browser source URLs and OBS scene names. If a scene has multiple Streamlabs sources, write down what each one handles: alert, fundraising goal, events list, or chat. The old addresses will come in handy if you need to roll back to a working version.
Before you start migrating, record your current goal values: name, total limit, amount collected, currency, and end date. Take a separate screenshot of the progress. Payment history and the current goal value don't automatically become part of the new account.
Check import and export
Before setting things up manually, open the StreamElements editor and check whether your version of the interface has Import or Export options. This feature may only apply to designs created inside StreamElements, not to a full Streamlabs transfer. The presence of an export button doesn't mean the file will include donation history, payment data, or OBS sources.
If the editor lets you export an overlay, first save a backup of any StreamElements design you've already created. If importing a compatible file or template is available, use it only after checking the format. A file exported from Streamlabs shouldn't be uploaded to StreamElements unless the interface explicitly states it's compatible.
An export may save the scene structure, element positions, text settings, or custom widget code. At the same time, images, sounds, external links, and CSS may need to be uploaded separately. After importing, check each element in the editor instead of just being satisfied that the scene opened without an error message.
If there's no compatible import, use your saved screenshots and parameter list. It takes longer, but it lets you see which setting was carried over and which stayed in the old system.
Set up your StreamElements account and donation page
Log in to StreamElements through the streaming platform account that owns the channel you need. Before setting up, check the channel name and connected permissions. If you open the service under a different profile, new widgets may get saved somewhere other than where you expect.
In the section related to channel support and payouts, set up an available way to receive donations. The service may ask you to confirm your details or re-enter your payment parameters. Do this before publishing the new link, and check the currency, minimum amount, anonymous donation option, and message display rules.
Your StreamElements donation link will be different from your Streamlabs link. Transfer history, pending payouts, and old page parameters don't automatically become part of the new account. Don't close the old page right away, especially if you have incomplete payouts or viewers are already using the previous address.
Until the new form is tested, keep the old link in your profile. Open the StreamElements page as a viewer and make sure it leads to the right channel, shows the correct currency, and accepts a message. Use an available test method or the lowest-risk option to check it, not a random real payment.
Create alerts and other widgets
In StreamElements, an overlay usually means one shared scene or canvas rather than a separate widget. Elements are placed inside that overlay: alerts, goal, recent events list, chat, and other blocks. So first create a shared overlay for the OBS scene you need, then add individual elements to it.
If you have several scenes with different sets of widgets, create separate overlays for them, or separate links only where you actually need them. Don't make a separate overlay for each alert without a reason: that kind of setup makes swapping sources harder and increases the risk of connecting one element multiple times.
For an alert, transfer the following parameters:
- the event types that should trigger the notification;
- the title and message text, including name, amount, and comment variables;
- display duration, delay, appearance order, and hide conditions;
- font, size, weight, color, alignment, and padding;
- image or GIF size and position;
- entrance and exit animation, speed, and disappearance method;
- minimum amount, filters, message limits, and individual design variants;
- event sound, volume, and playback method.
For a fundraising goal, transfer the name, total amount, currency, end date, labels, progress bar style, colors, and position. For the recent events list, check the number of rows, sort order, event types shown, name length, and amount format. For chat, separately save the area size, background, transparency, font, delay, and message display rules.
Upload the images and sounds you saved from Streamlabs. If your CSS uses links to images or fonts, save not just the code itself but all the external addresses. Paste the CSS into the field StreamElements provides without changes, then check the result. The new widget's selectors and HTML structure may differ, so some rules may need adjusting.
Configure sounds for each event type separately. Check the selected file, volume, playback timing, and repeat. If you used an external audio link in Streamlabs, make sure it's still accessible and doesn't require authorization. If the file was uploaded to the old service, upload it again in the new widget.
After saving, refresh the preview. Make sure the CSS isn't hiding text, the image isn't covering the message, and the alert doesn't go beyond the canvas. Test a long name, a multi-line comment, a large amount, and special characters.
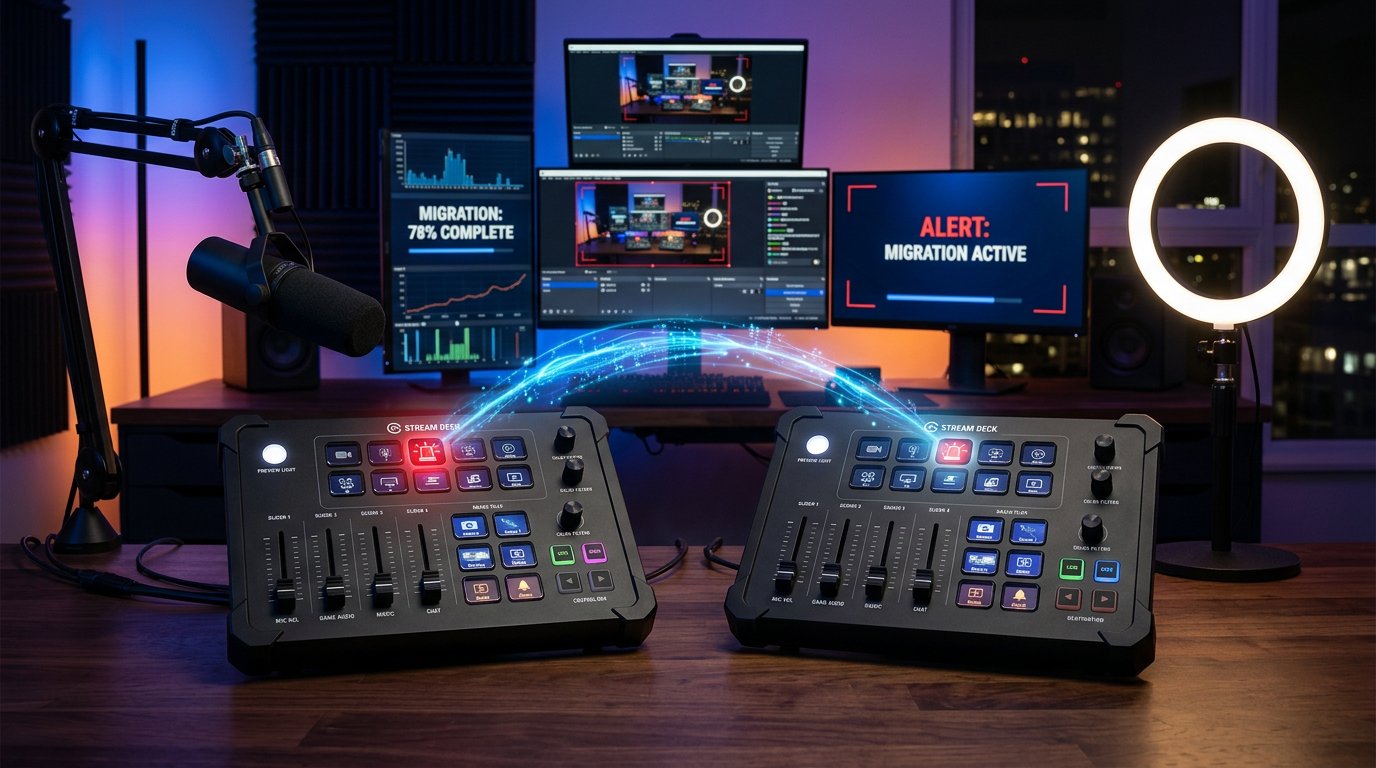
Move the current goal amount manually
The goal name and total limit don't mean StreamElements will automatically show the amount already collected. Open your saved screenshot or the current Streamlabs stats and write down the current progress, target amount, and currency. If the fundraiser is ongoing, note the date and time so you don't lose new donations during the migration.
Create a new goal in StreamElements with the same name, total limit, and end date. Then find the field in the goal or widget settings that controls the starting or current progress value. The field name may differ depending on your interface version. Enter the amount collected in the old system and save your changes.
If manually setting a starting value isn't supported, don't inflate the progress with a test or real donation. That would distort your transfer history and may create an extra alert event. In that case, set the correct total limit, and for the current fundraiser choose a supported display method or start a new goal with a clear description for viewers.
After saving, compare the new widget with the old one: check the number, percentage, label, currency, and end date. If the progress displays incorrectly, fix the goal in StreamElements, not the source dimensions in OBS. Once the result matches, write down the goal's name or ID in your working document.
Test the progress change with a test event if that mode is available. Make sure the amount didn't reset and the alert didn't appear twice. Only then connect the goal to your live scene.
Replace sources in OBS without conflicts
First create a test scene or use a copy of your live scene. This lets you check the new link without touching your main broadcast. Copy the overlay URL from StreamElements, then do the following:
- Open the scene you need in OBS and add a new Browser Source.
- Give it a clear name, like "SE — alerts and goal," so you don't confuse it with the old source.
- Paste the StreamElements URL into the address field.
- Set the width and height to match your OBS scene canvas.
- Check the source's position, visibility, and order in the layer list.
- Save the source and wait for the overlay to load.
- Temporarily disable the visibility of the old Streamlabs source in this scene.
- Run test events and make sure the notification appears only once.
Don't add the new source on top of the old one, and don't leave both sources visible during testing. Otherwise a single donation can trigger two alerts at once. If you need the old source as a backup, rename it with an "old" tag and keep it hidden.
Check whether the same overlay is connected in multiple scenes that display simultaneously through groups, studio mode, or additional compositions. The same source in different places can cause a notification to show twice.
If the overlay doesn't load, check the URL, your internet connection, the source size, and the selected scene. Try refreshing the Browser Source. Don't change the CSS and dimensions at the same time as swapping the link: with one change at a time, it's easier to pinpoint the cause of an error.
After testing the test scene, add the new source to the remaining scenes. For each scene, separately make sure the old Browser Source is hidden or deleted and the new one is in the right position.
Test events and sound
Use test events in the StreamElements settings for each type of notification you've connected. Test donations, subscriptions, follows, goal changes, and other events your channel actually uses. One alert test isn't enough: different events can trigger different texts, images, and sounds.
Check the result in two places: the StreamElements preview and directly in the OBS scene. Evaluate the text position, message readability, volume, how the animation works, and whether it shows twice. Separately test a long message, unusual characters, and a large amount.
Check the sound in the OBS mixer and in a short test recording. Make sure the audio isn't muted, isn't drowned out by another source, and is routed to the right channel. If the alert is visible but not audible, the problem may be in the Browser Source settings or audio routing, not the file itself.
If you use the OBS option for controlling browser source audio, check it separately. Listen to the recording at the same volume level you'll use on stream. Don't rely on the headphone sound alone: viewers may get a different mix.
If a viewer's message appears on screen, check filtering of unwanted characters and the ability to hide inappropriate text. Compare the display duration with your previous setting: an alert that's too short may not give viewers time to read it, while one that's too long will cover part of the scene.
Replace your donation links
Once the new page, alerts, goal, and sound are tested, update the link everywhere viewers see it:
- channel description and profile panels;
- pinned messages and chatbot commands;
- stream description and announcement templates;
- social media profiles and community pages;
- videos, posts, and other materials where the old form is listed.
If the address appears in an alert text, panel description, or custom widget, replace it there too. Check the bot commands separately: the link may be hidden in an automatic reply and not show up in your main channel description.
Update your main profile and pinned message first, then open the channel as a viewer. Check that the new link leads to the right page and that the old address is no longer listed in a visible spot. After that, change the remaining platforms.
Don't close the old donation page right away. It may still be in old posts, and viewers may have pending transfers. Once the new form is tested and your main links are updated, tell your audience about the switch with a separate post or a message on stream.
For your first few streams after the migration, keep the StreamElements and OBS panels open. If an event doesn't appear or an alert fires incorrectly, you'll figure out faster whether the problem is in the donation form, event processing, overlay, or browser source.
Keep a backup setup
Don't delete the old Browser Sources right after swapping them. Leave them hidden in the scene or save a separate copy of your scene collection. Also keep a backup of your Streamlabs settings, design files, CSS, sounds, images, and the list of old URLs.
If the new overlay stops loading, temporarily hide it and restore the old source. If only one element is affected, don't replace the whole scene: check the URL, visibility, source size, event settings, and the connected overlay.
After a few tested streams, you can delete the unnecessary sources from your live collection. It's better to keep the archive separately. It'll come in handy if you need to restore your previous design, compare parameters, or bring back some elements.
Quick step-by-step summary
- Make a list of your Streamlabs donation page, alerts, goals, and other widgets.
- Save screenshots, texts, CSS, images, sounds, current goal values, and old URLs.
- Check available import and export features, without counting on a full Streamlabs transfer.
- Connect the right channel in StreamElements and set up the donation page.
- Create a shared overlay for the scene and manually transfer alerts and other elements.
- Upload sounds and images, paste the CSS, and check the display conditions and appearance.
- Create a goal and set the current progress manually if the interface supports it.
- Add the new Browser Source to a test OBS scene without deleting the old one.
- Test events, sound, element positions, long messages, and check for duplicates.
- Replace links in your profile, bot, descriptions, and social media.
- Run a few streams with the backup setup in place, and delete old sources only after testing.
Last Articles
What has changed in design and functionality We have updated the website to make working with it faster and more convenient. The main changes affect ..
Good afternoon, I've collected all the news during this time.: 1. The main news is that prices for twitch viewers have been greatly reduced, while Tw..
1. Use promo code "December2025" for a 15% discount for all our viewers2. We have reduced the base prices for our configurator and the most affordable..
Twitch services are working stably, so we are ready to cooperate with squads, resellers, service owners, bot owners, and many others.Individual te..
We have completely updated our Twitch viewer services, and they are now working stably. We only use high-quality IP addresses for the viewers.The ..
Hello everyone! Today, we are announcing a new feature—"Twitch Viewer Configurator". Now, you can customize any plan for your Twitch channel. Choo..
Greetings, I have compiled a guide for streamers, which will be very relevant at the moment. Now YouTube and twitch have disabled monetization from vi..
We have finally developed the APINow it will be more convenient for our partner sites to work with us.To update the maximum tariffs for YouTube, an up..
Due to the huge popularity of the partnership services and referral program, we have made a cooperation table. The essence is very simple: more live a..
Our Services for Streamers






Our Services for Content Creators